What I Learned Watching a PPF Installation : A Step-by-Step Breakdown

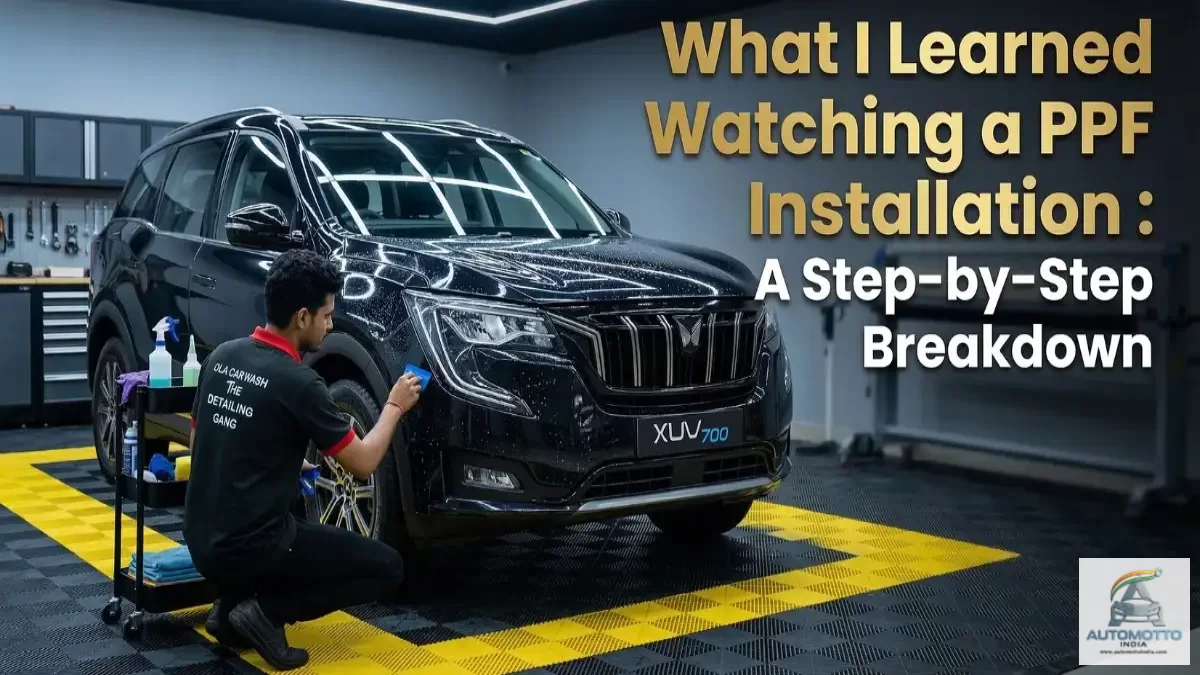
Recently, I had the opportunity to watch a professional paint protection film installation from start to finish. Before seeing the process closely, I always thought PPF was just a type of clear sticker applied to the paint. After observing the entire job, I realized it is much more than that. This article is not a review of any shop. I simply want to share what I learned by watching a proper installation so car owners understand what actually goes into the process and why it costs what it does.
Understanding the Material First
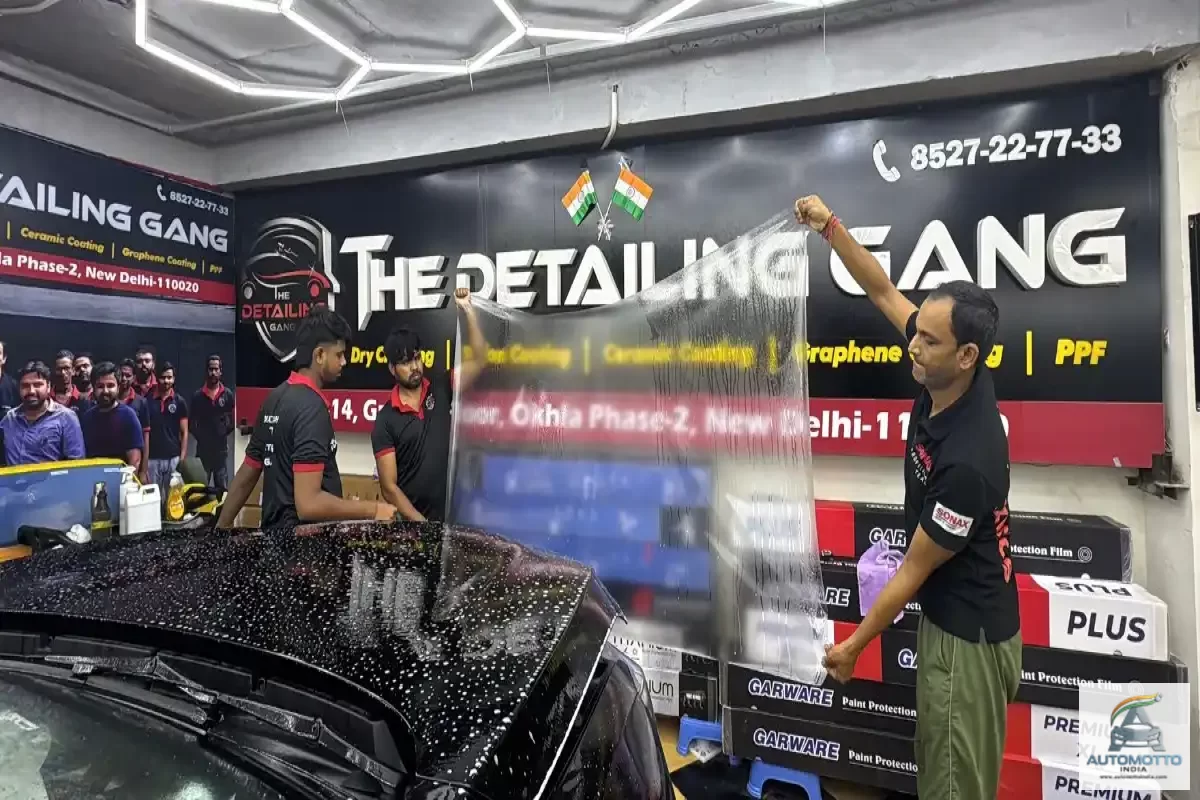
My biggest misconception was about the film itself. I always imagined it as a thick plastic sheet. The installer explained that modern PPF is made from Thermoplastic Polyurethane (TPU). TPU is flexible but extremely durable. It works like a protective skin over the car’s paint. When small stones or debris hit the surface, the film absorbs the impact instead of the paint.
Another feature that surprised me was the self-healing top layer. Minor scratches can disappear when exposed to heat from sunlight or warm water. I saw this demonstrated on a sample piece, and it was impressive. The surface slowly returned to its smooth finish. That moment made me understand that PPF is not simply covering the paint. It is a protective layer designed with advanced material technology.
The Step-by-Step Process: Why It Takes Days, Not Hours
A proper installation is a proper marathon; it's not a quick sprint job. Here’s the meticulous process I witnessed, which gave me a new respect for the craft.
Here is the process I observed.
1. The All-Important 'Before' Inspection
Before they even reached for a bucket, the entire car was inspected under bright LED lights. Every tiny scratch, chip, and flaw on the paint was marked and photographed. I asked why this was so thorough, and the head installer said, "We need to agree on the canvas before we start preserving it." It made perfect sense; this step protects both the customer and the studio.
2. The Deep Clean: One Wash Is Never Enough
- First Wash: A standard wash to get rid of the obvious dirt.
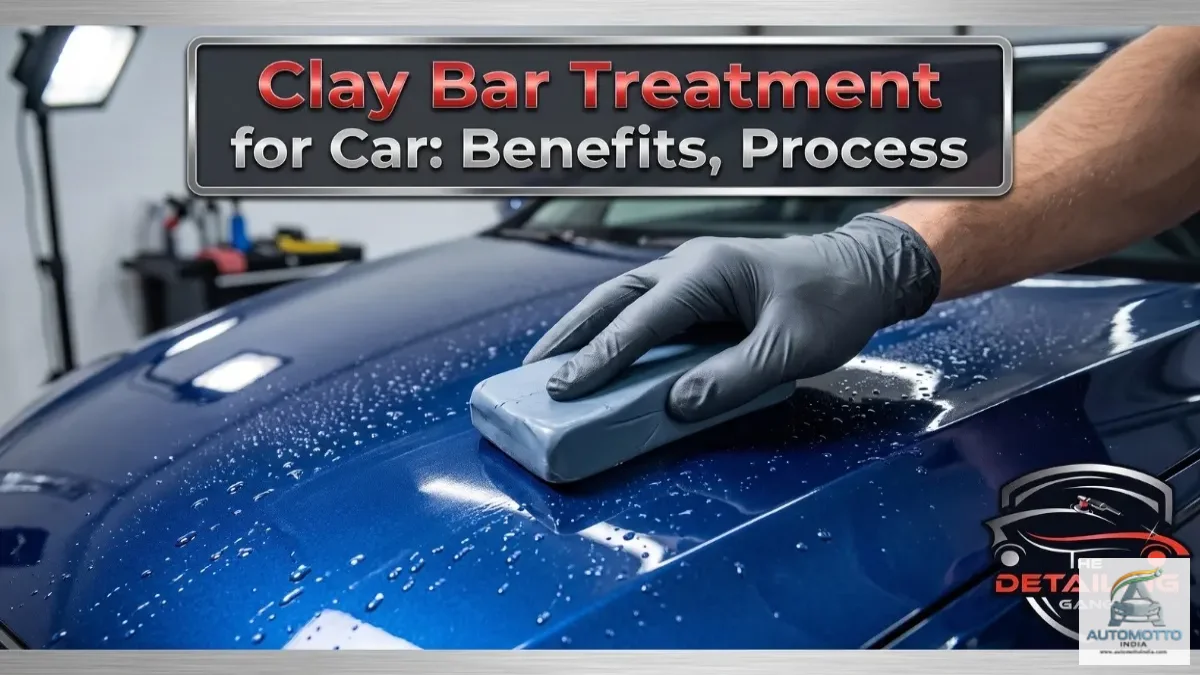
- The Revealing Wash: After the first wash, they inspected again. This was interesting. A clean surface shows you the bonded contaminants you can't see when it's dirty. Then came the foam wash and clay bar treatment. I got to feel the clay bar gliding over a panel before and after. The "before" felt gritty, like sandpaper; the "after" was as smooth as glass. It's a step you don't appreciate until you feel the difference.
3. The Make-Ready: Paint Correction (If It Needs It)
This was an eye-opener. The installer pointed out light swirl marks in the sun. If we film over these, he said, we'll just perfect and preserve the scratches forever. So, they did a light machine polish on those areas. Seeing them take the time to do this right first really built my trust.
4. Fitting Open
Before applying the film, they carefully removed door handles, side reflectors, and even some badges. I must have looked puzzled because the installer smiled and said, This is the secret to a no-edge look. By removing parts, they can tuck the film's edges deep behind them. When the handle is screwed back on, the film is completely hidden, with no edge for dirt to catch. This single step separates a premium job from an average one.
5. The Installation
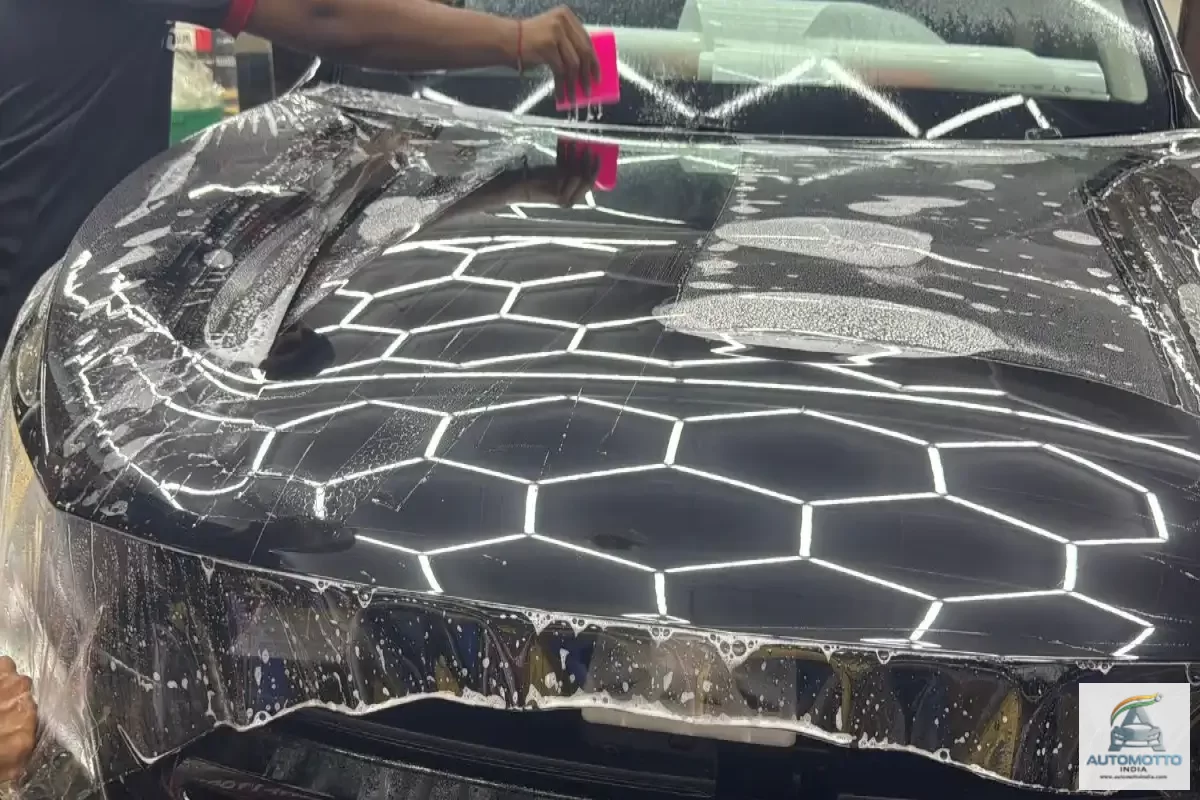
In a dedicated, dust-controlled bay, the installation began. The film panels, slick with a slippery solution, were carefully positioned. Watching the installers use their soft squeegees was hypnotic; they worked out every single bubble and droplet of water with a level of patience I could never manage. The way they gently stretched and formed the film over complex curves like fenders without tearing it was pure skill.
6. Reassembly & Final Detail
Once the film was perfectly set and trimmed, all the removed parts were reinstalled. The car got a final gentle wash and was dried with soft air blowers (no touching with a towel!). Seeing the water bead up and roll off the hood immediately was the perfect demonstration of its new hydrophobic properties.
The Honest Pros and Cons: My Takeaway
After watching the entire process, here are my personal observations
What Truly Impressed Me (The Pros):
- Invisible Protection: The film is completely transparent, preserving your car's original color and finish.
- Hydrophobic: Most PPF has excellent water-beading properties, making the car easier to clean.
- Impact Absorption: It really does act like a proper shield against stone chips, bug acids, and bird droppings.
- The Self-Healing is Real: They demonstrated a light scratch on a test piece, and watching it vanish with heat felt like magic.
What You Can't Ignore (The Cons):
- Cost: It is a significant investment, one of the most expensive forms of paint protection.
- Professional Removal: If you ever need to take it off, it should be done by a professional to avoid damaging the underlying paint.
- Installation is Everything: The final result is 90% dependent on the installer's skill. Poor installation can lead to bubbles, lifting edges, and visible seams. It's not a DIY job.
Final Thoughts:
Watching the full installation process completely changed my understanding of Paint Protection Film. It is not just a protective sheet applied to the car. It is a combination of advanced material technology and skilled craftsmanship. The biggest lesson I learned is this: the quality of installation matters just as much as the brand of film.
A careful, multi-day installation produces a finish that looks almost invisible and lasts for years.If you are considering PPF for your car, focus on choosing a workshop that follows a proper process. The difference between a rushed job and a meticulous installation is clearly visible in the final result.

Discussion